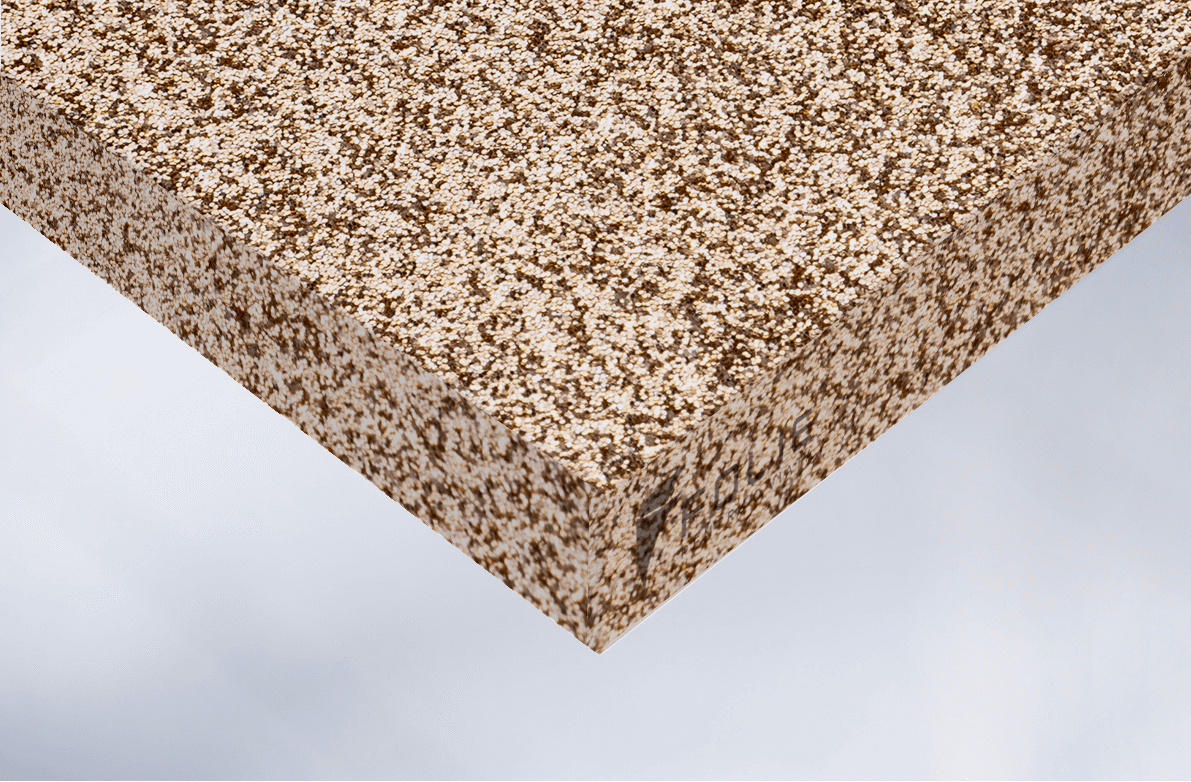
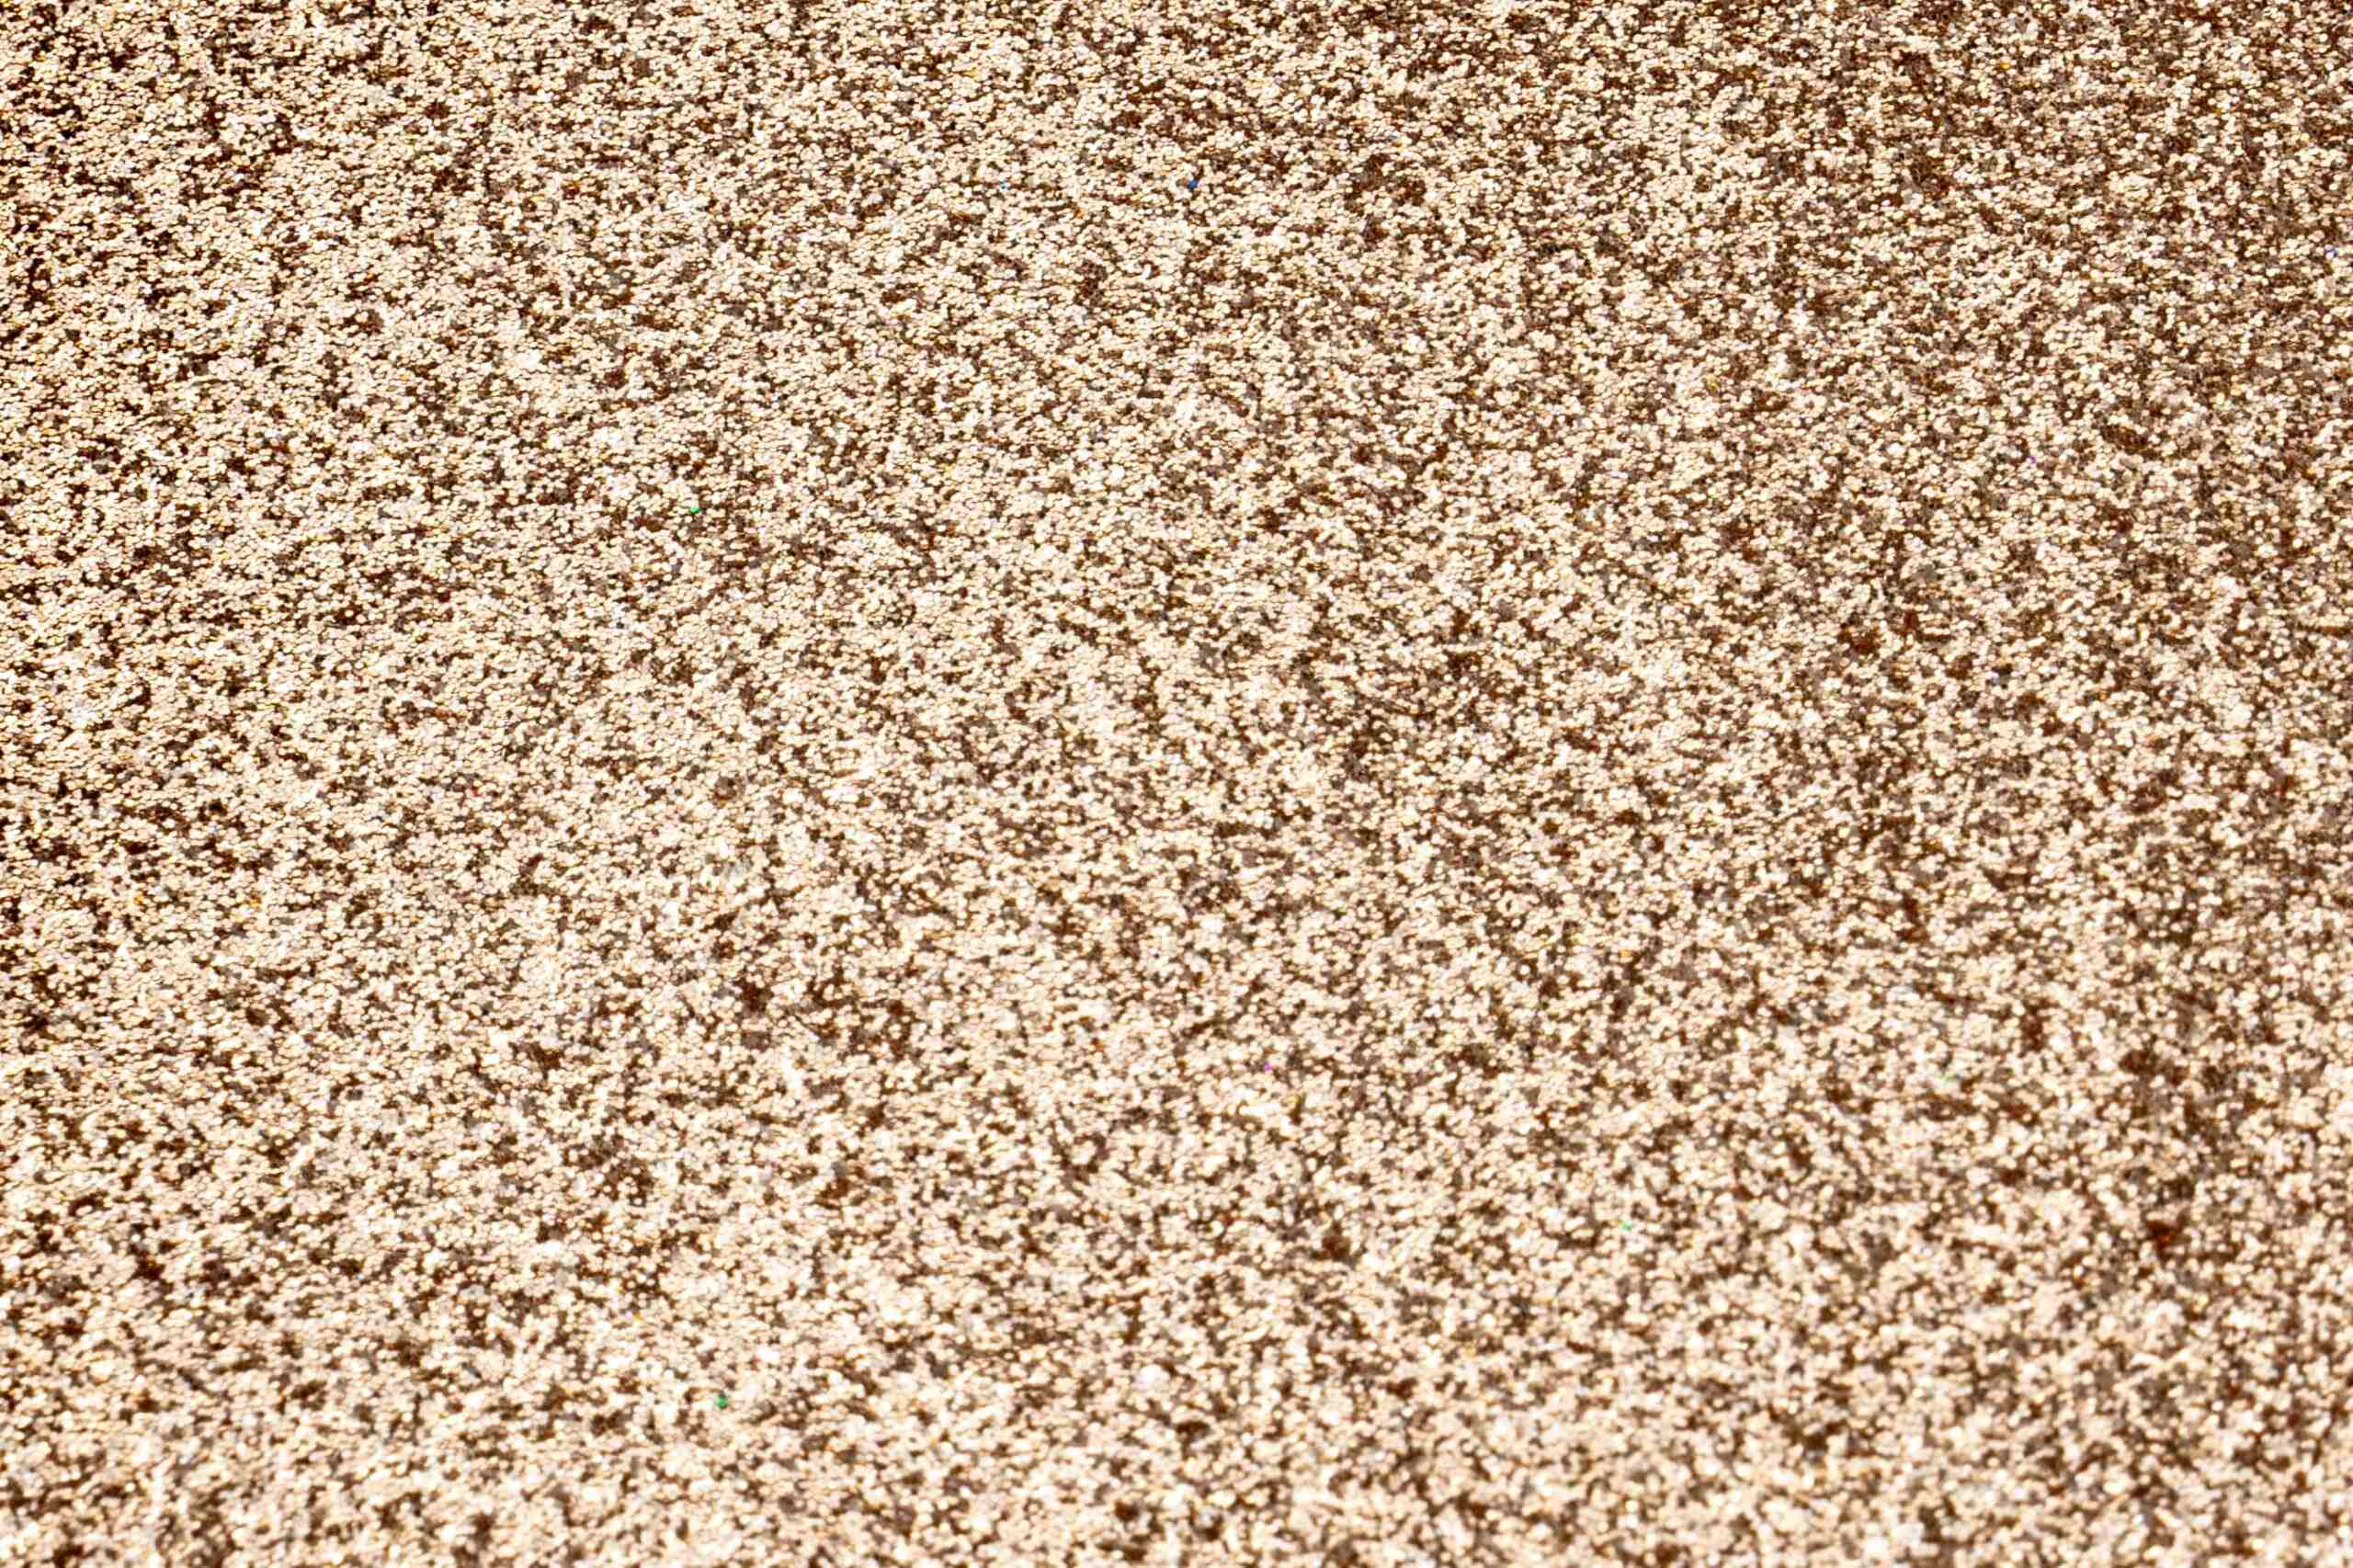
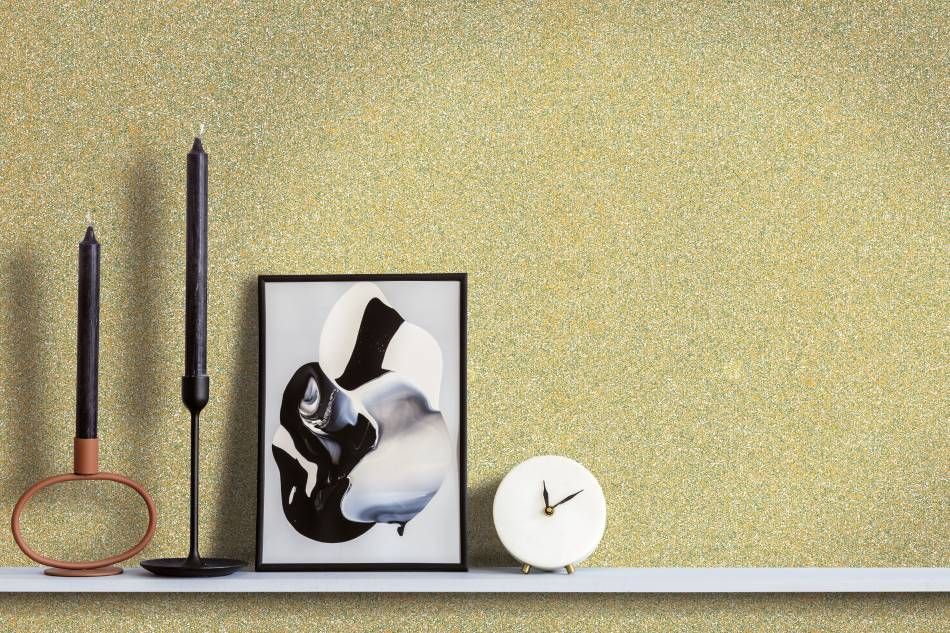
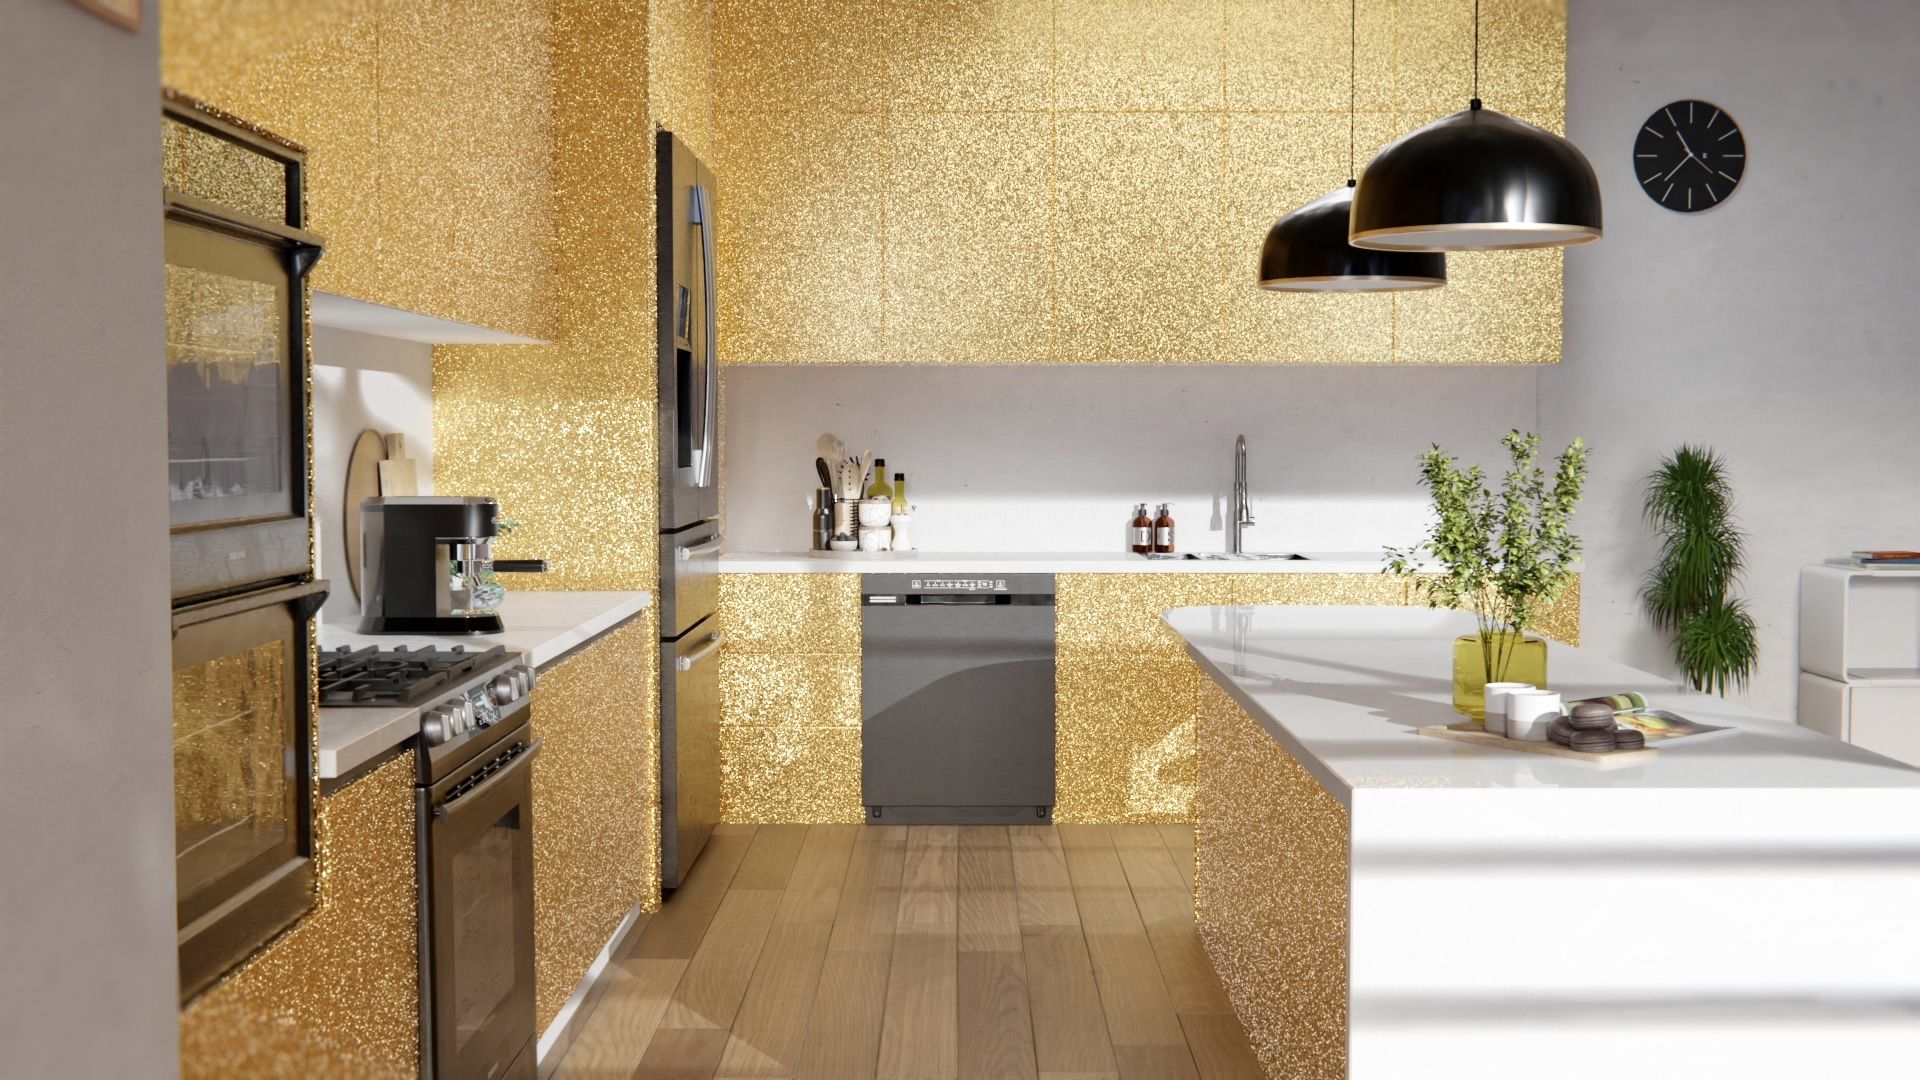
Cover Styl self-adhesive vinyl films are an innovative and durable solution for renovating interiors.
They can be applied to various rigid surfaces: furniture, doors and door frames, ceramic tiles, windows, aluminum, PVC or wood elements, household appliances, and even walls.
Cover Styl films are part of the professional film category:
- Exceptional aesthetic appearance
- Consistent thickness of between 180-550 microns to ensure durability and resistance over time.
- Large roll width of 1.22 m allows application in a single piece even on larger elements.
- Impressive roll length of 50 m to minimize cutting waste.
- Easy and quick application thanks to the bubble-free adhesive (adhesive with micro grooves).
Most are thermoformable with a hot air gun, allowing easy application even on curved surfaces.
The decorative films are scratch, impact, and wear resistant, and the appearance remains flawless for a long time, with a 10-year manufacturer’s warranty*.
Easy to maintain, requiring only wiping with a damp cloth to remove stains or dirt.
It is an ideal option for hotels, offices, restaurants, or homes and is faster and more economical than traditional renovation.
Why replace when you can upgrade with Cover Styl films!
*The 10-year warranty applies when applied by specialized personnel.
BEFORE INSTALLATION To ensure optimal installation conditions, store the material at a temperature between 16 °C and 25 °C.
- The first thing to do is the adhesion test. There are certain surfaces that do not adhere, or adhere very poorly, such as siliconized surfaces, Teflon paints, etc... These are extremely rare, but it is good to do a test anyway.
- You can do the test with any self-adhesive film, even an A5 self-adhesive film (what the labels print on).
- Simply stick it to the surface and pull it off. See if it peels off hard or not.
- If it comes down easily without resistance, the surface is not suitable for applying self-adhesive film.
- If it looks tacky but not very consistent, you may still be able to do the tinting using the right primer.
- If you're applying to the wall, look for a surface where you won't mind if the test film takes the paint off the wall. The wall is very porous, you can easily pull the paint off.
- You must ensure an ambient temperature for the time of installation between 12 °C and 38 °C, with no high humidity above 50%. If you are going to apply foil on a surface where there may be moisture (wall, concrete, etc.) it must be below 10%.
Surface preparation If you have to bond non-porous surfaces, such as chipboard, OSB, MDF, Al, glass, PCV, steel, ceramic (tiles, stoneware), etc.:
- For good bonding the surfaces must be clean and dry.
Cleaning should be done with cleaning solutions and cleaning brushes. You can also use commercially available pH neutral universal cleaning solutions. We recommend an APC (all purpose cleaner) which, in various dilutions, can be used to clean grease from kitchen furniture near the stove, as well as doors and furniture in the nursery. You just have to respect the different dilution percentages.
- We recommend this one: Click here: APC (all purpose cleaner)
- Use a sprayer Click here: Sprayer and microfiber wiping cloths Click here: Cloths
- Once you have thoroughly cleaned the surfaces to be colanized, you must also degrease them.
- For degreasing we recommend 70% isopropyl alcohol. Click here: IPA (isopropyl alcohol) Make the dilution 2 parts IPA 1 part water. Before degreasing with IPA, do a test in a more hidden place, to see if it doesn't affect the surface. This step only if you are applying the films to non-porous, non-absorbent surfaces.
- Use sprayer Click here: Sprayer, you spray on the wipe and NOT on the surface, then wipe them off.
- After degreasing, avoid touching the degreased surfaces.
- Primer solutions are recommended. There are four types of primer. You will find below in the description which Primer to use in which situation.
- If you have to add foils and you want the addition to be head-to-head (with one color foils it is more aesthetically pleasing), it is a good idea to draw a stripe of paint in the area where the addition will be that closely resembles the color of the foils. Over a few years where the foils will shrink (you can encounter shrinkage of 0.1-0.3 mm after 3-5 years), the paint under the foils will cover your shrinkage. Apply the primer and paint over it first.
- If the surface to be tinted has been cleaned and degreased, it is ready for application.
If you have wall or other porous or even bumpy surfaces to be bonded:
- If you are going to tint the wall with one-color, smooth or matte foils, the wall must be very well worked so as not to teach the traces of the tinting.
- If necessary, make surface corrections by sanding and sanding.
- If the surface of the wall is ok, there are no places where it has been bumped, it is sanded straight and is smooth, all you need to do is dust it and apply the dedicated Primer: Click here: Primer.
Tinting:
- Cover Styl sheets are applied by the dry method. These films can NOT be applied by the wet method.
- Measure the coverage area and cut the foil with a safety margin of about 2 inches on each side. Once you have cut it lay it over the item, see if you have cut it well, you have enough material left pa edges.
- If the foil has to be added - the elements are wider than 1.22m - most can be added on both sides, but there are models where the addition is on the same side of the foil (called ABBA addition). Consult the data sheet for this.
- When adding with overlap, make the overlap between 10 and 15 mm. When overlapping use Primer.
- There are foil patterns where overlapping is not recommended, usually very thick ones.
- When adding where it was necessary to stretch the foils (on those that can be) it is recommended that before applying on the parts where you are adding to heat the foils. That way they shrink before bonding and not after.
- Using a squeegee Click here: Squeegee, start applying the foil from the middle toward the edges to avoid air bubbles. We recommend that one side of the squeegee be with a squeegee Click here: Felt and the other without. In this way you can also make a very firm but also gentler squeegee.
- If you have applied the foil and you see bubbles under the foil, you can lift up to reapply if you haven't already crazed over it. WITH THE EXCEPTION of porous surfaces like the wall. On the wall you have to work very carefully, because you can't lift the film.
- During the caulking, take care that there is no dust or dirt on the surface and that the caulking does not scratch the film.
- Apply the foil carefully, making sure there are no creases or bubbles. If there are bubbles, use a fine needle to puncture them and smooth the area with a squeegee
- You can use a hot-air blower for thermoforming if you have to apply on curved surfaces. The sheets are made by the calendered method, so they are thermoformable. For better adhesion in the areas where you have applied the foil apply primer. NOT all films are thermoformable. There are some that cannot be stretched (cork, glitter, silk, silk prestige, textile, etc.). These foils contain the materials themselves, such as cork, or textile fibers.
- Once the application is complete, use a precise cutter to trim off excess material and finish the contours.
- When finished, blow hot air over the edges of the foil with the hot air blower and press firmly with the squeegee once more. Especially on the overlaps.
- Allow the foil to set for 24 hours before using the renovated surface. The adhesive of the foil only activates 75-80% when bonding, the rest is done within 24 hours.
AFTER INSTALLATION
- Use PH neutral cleaning solutions to clean the surface of the foil. You can use the same one you cleaned the surface with before bonding. Do not use products with an extremely acidic or alkaline pH as these can damage the material.
- For persistent stains, apply hot (not boiling) water to the affected area. When cleaning the film surface, use only soft cloths or sponges to avoid damaging the film.
PRIMER In order to ensure a perfect and long-lasting adhesion, in many situations we use so-called primers. These are chemical solutions that are applied by brush with a special applicator Click here: Primer Stick 40ml (Empty) or roller. Depending on the porosity of the surface, two different types of primers are used: For non-porous, non-absorbent surfaces such as: melamine coated chipboard, painted MDF, Al-boards, PVC, ABS, PET, treated wood, metal, painted surfaces, etc.
1. Primer Plus
- Solvent based primer
- Drying time 15-20 minutes
- Available in 250ml and 1000 ml
2. Primer Pro Plus
- IPA (Isopropylic alcohol) based primer
- Available in 250ml and 1000 ml
- It is a fast drying primer, drying time only 2 minutes
- Increased adhesion compared to Primer
- Especially recommended for Anodized Aluminium, electrostatically painted elements
More environmentally friendly than Primer, less odor nuisance
If you need to remove Primer Plus or Primer Pro Plus - it got where it shouldn't - it can be cleaned with a washcloth and isopropyl alcohol (IPA), diluted 2 parts IPA to 1 part water. For absorbent, porous surfaces, such as: plaster, plaster, paint, plasterboard, untreated natural wood, concrete, marble, fiber cement boards, wood plywood, bare MDF, etc.
We also have two versions of Primer:
1. Waterbased Primer:
- If the wall is painted, apply a strip with a sponge roller around the edges. If the wall is unpainted, bare plaster or plasterboard, apply over the entire surface.
- Avaiable in 1000 ml, enough for approx. 25 square meters
2. High Tack Primer:
- Can cover a larger area than with Waterbased Primer.
- If the wall is painted, apply a 1:1 diluted sponge roller strip around the edges. If the wall is unpainted, bare plaster or plasterboard, apply over the entire surface diluted 1:1, then apply a 3-5 cm undiluted strip on the edges with a brush.
- For natural wood, MDF or bare OSB-without any coating, we recommend High Tack Primer diluted 1:1 over the entire surface and a 3-5 cm strip on the edges.
- Consumption: 1 liter sufficient for approx. 50 square meters.
- Drying time 60-120 minutes depending on dilution.
- Increased adhesion.
- Available in 1l and 3l.
If you need to remove the primer - it's got where it shouldn't - it can be cleaned off with a damp cloth. How do you determine which primer to use? Put two or three drops of water on the surface to be tinted and see if it absorbs. If it absorbs into the surface it is porous, if it does not absorb at all it is non-porous.
How to apply the primer:
- Apply a strip of approx. 3 cm before applying the film.
- Wait until completely dry.
- On absorbent surfaces apply with a sponge roller, at the edges with a small sponge roller or brush.
- On non-absorbent surfaces apply with Primer stick applicator Click here: Primer Stick 40ml (Empty) or with brush.
10 Years - Warranty covers yellowing, delamination and film structure breakdown only.
Conditions:
- Preparation has been carried out according to instructions.
- Dedicated primers were used.
- Application procedure has been followed (see our installation instructions).
- Relevant care and maintenance recommendations are followed.
- They were applied on surfaces not directly exposed to UV radiation.
- The installer was technically prepared for the application of Cover Styl self-adhesive films.

 In stock


Reviews
There are no reviews yet